Post by Hoovie on Feb 8, 2018 12:17:29 GMT
by CharlieFarlie
Wed Jun 11, 2014 4:23 pm
This Topic discusses how to add a control switch to the wire that drives the TPMS Indicator on the RAV4 T180 and SR180. This guide is not for use with any other RAV4 vehicles!
You may want to be able to temporarily disable the TPMS indicator if you are using a second set of wheels and tyres, e.g. Winter Tyres, that do not have the Sensors fitted.
If you have removed the BSR system from your RAV4 T180 /SR180, and have chosen to also remove the TPMS sensors from the wheels, you will probably also want to stop the now-defunct warning light from coming on, and in this case, you could bypass the instructions on fitting the switch and just cut the pink wire :s_smile
Thanks to Club Members for all the information I needed to complete this task !!!!
Before any work is started remove the negative terminal on the battery, This is VERY important !!
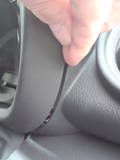
Firstly, You remove the bezel surrounding the instrument cluster.
This pic shows the fixing points..
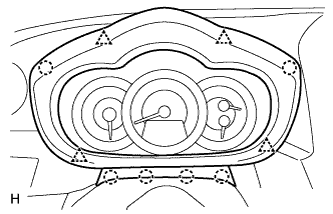
There are for small clips that connect the bezel to the dust curtain. these squeeze together to be removed. The bezel can now be removed out of the way
Then remove the two screws at the top and gently pull the clocks towards You..
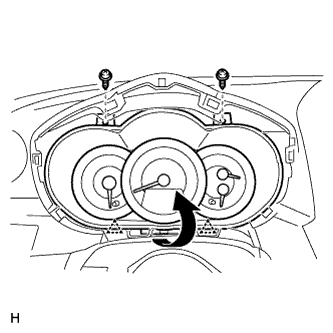
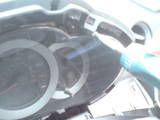

The clocks have just one connector so I removed this and put them out of the way...

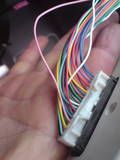
The pink wire is easily located in the loom.
The switch is an SPDT and costs just £2.. Here are a couple of pics of the switch and where I decided to mount it.
The chosen spot.
BTW there is no need to remove the switch panel as its very difficult to get out !! Simply reach behind it when the clocks are out and push the switch blank out !!

I removed the switch blank and carefully drilled a 20 mill hole in dead centre of said blank.

Wiring was done as follows. Thanks David.
1 Select the pink wire from the loom that goes into the connector block shown above and cut.
2 Determine which end goes into the clock/pack. Connect this wire to centre terminal on switch. This is the critical connection.
3 Connect other end of pink wire [that goes to the TPMS ECU] to either of the outer terminals.
4 Connect remaining terminal to ground/earth
I chose to solder and heat shrink the connections and cable tie to the loom.

The earth cable point is under the cover just to the right of the drivers foot.
Here.
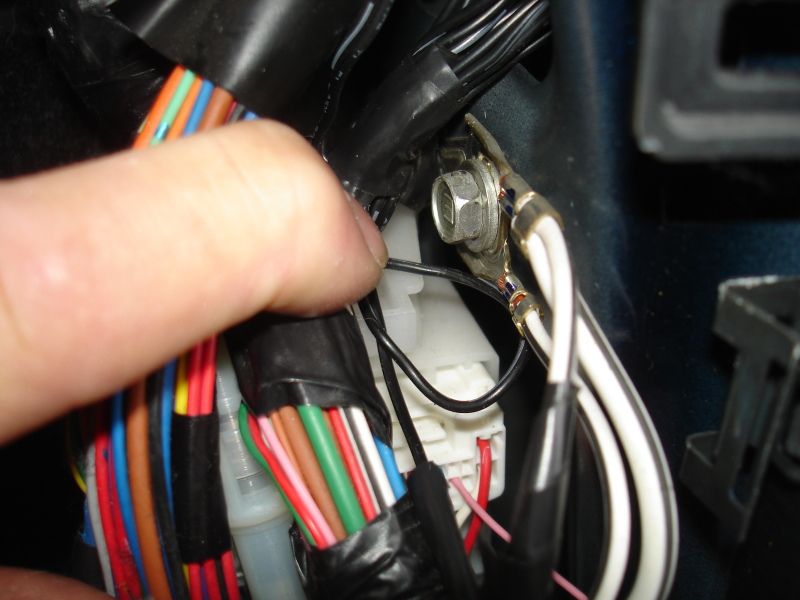
You will need to remove the cover above the sill here

The remove this cover

Both covers simply pull off as they are on bayonet push fixings.. The cover in the lower pi has one plastic nut right at the front about half way up. You can undo this with Your fingers.
Once re assembled I think the switch looks OK..
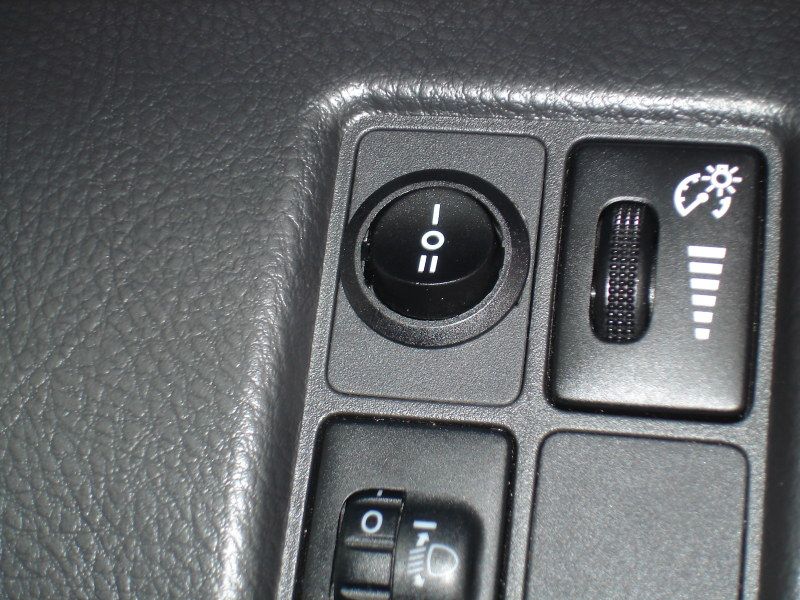
So with the battery re connected and the switch in position 1 the TPMS Symbol lights up as usual indicating the TPMS system is live and working as normal when going through the check on start up.
With the switch on position 2 the symbol does not light up indicating that the TPMS IS NOW DEACTIVATED !!!!!!!!!!!
Wed Jun 11, 2014 4:23 pm
This Topic discusses how to add a control switch to the wire that drives the TPMS Indicator on the RAV4 T180 and SR180. This guide is not for use with any other RAV4 vehicles!
You may want to be able to temporarily disable the TPMS indicator if you are using a second set of wheels and tyres, e.g. Winter Tyres, that do not have the Sensors fitted.
If you have removed the BSR system from your RAV4 T180 /SR180, and have chosen to also remove the TPMS sensors from the wheels, you will probably also want to stop the now-defunct warning light from coming on, and in this case, you could bypass the instructions on fitting the switch and just cut the pink wire :s_smile
Thanks to Club Members for all the information I needed to complete this task !!!!
Before any work is started remove the negative terminal on the battery, This is VERY important !!
Firstly, You remove the bezel surrounding the instrument cluster.

This pic shows the fixing points..

There are for small clips that connect the bezel to the dust curtain. these squeeze together to be removed. The bezel can now be removed out of the way
Then remove the two screws at the top and gently pull the clocks towards You..


The clocks have just one connector so I removed this and put them out of the way...

The pink wire is easily located in the loom.

The switch is an SPDT and costs just £2.. Here are a couple of pics of the switch and where I decided to mount it.
The chosen spot.
BTW there is no need to remove the switch panel as its very difficult to get out !! Simply reach behind it when the clocks are out and push the switch blank out !!

I removed the switch blank and carefully drilled a 20 mill hole in dead centre of said blank.

Wiring was done as follows. Thanks David.
1 Select the pink wire from the loom that goes into the connector block shown above and cut.
2 Determine which end goes into the clock/pack. Connect this wire to centre terminal on switch. This is the critical connection.
3 Connect other end of pink wire [that goes to the TPMS ECU] to either of the outer terminals.
4 Connect remaining terminal to ground/earth
I chose to solder and heat shrink the connections and cable tie to the loom.

The earth cable point is under the cover just to the right of the drivers foot.
Here.

You will need to remove the cover above the sill here

The remove this cover

Both covers simply pull off as they are on bayonet push fixings.. The cover in the lower pi has one plastic nut right at the front about half way up. You can undo this with Your fingers.
Once re assembled I think the switch looks OK..

So with the battery re connected and the switch in position 1 the TPMS Symbol lights up as usual indicating the TPMS system is live and working as normal when going through the check on start up.
With the switch on position 2 the symbol does not light up indicating that the TPMS IS NOW DEACTIVATED !!!!!!!!!!!

