Post by Hoovie on Feb 8, 2018 12:03:27 GMT
Sat Jul 02, 2016 2:52 pm #1
tilly
One of the first jobs I did on the Rav when I bought it was replace the front headlights. They had yellowed so badly that the last MOT examiner flagged it up as an advisory.
The units were bought from Eurocarparts, when they had a 30% sale on, which made them quite cheap.
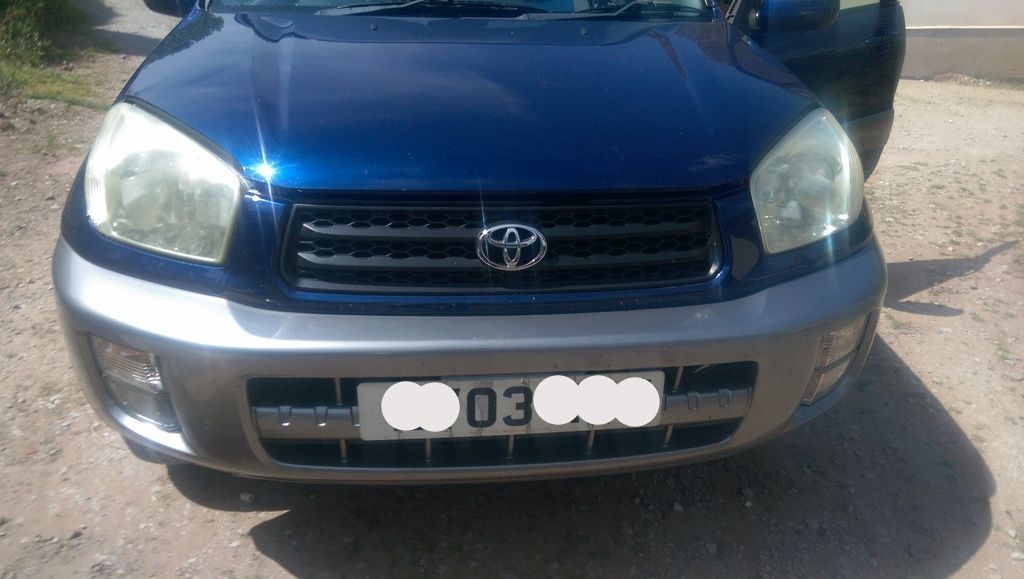
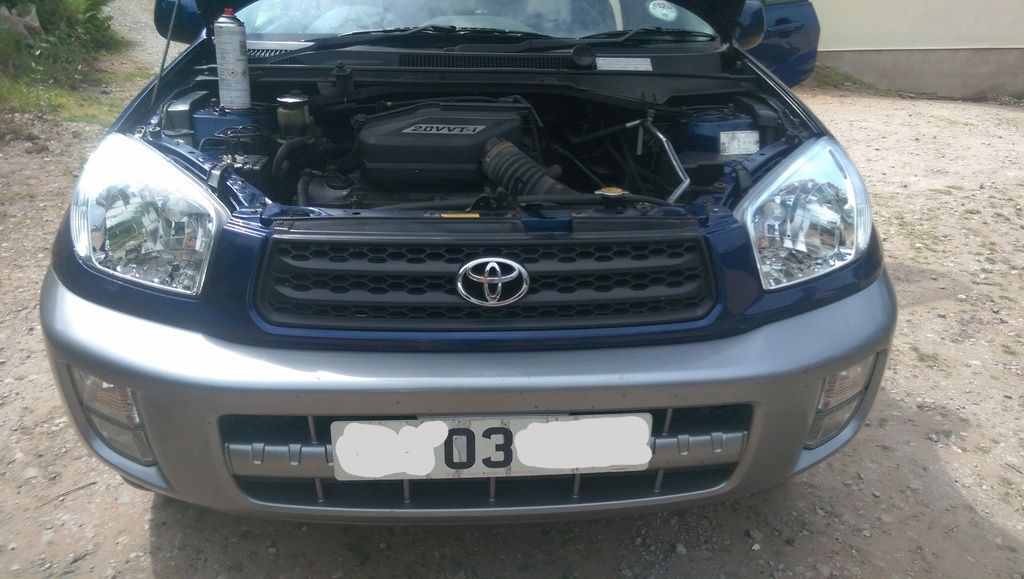
This is the before shot. Yellowing headlights, and it makes the Rav look pretty shabby.
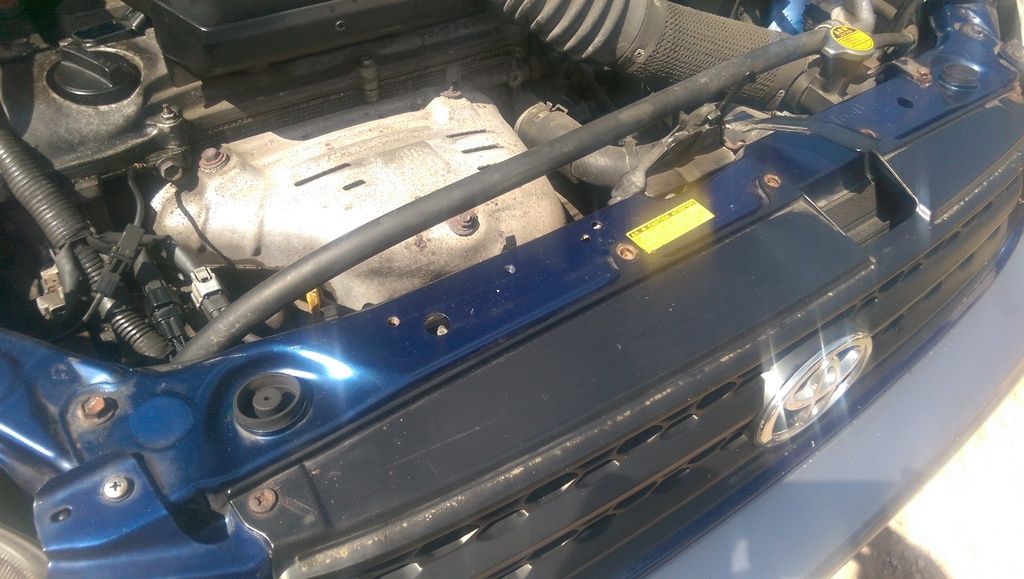
First remove the upper bolts holding the black grill in place, and set them aside.
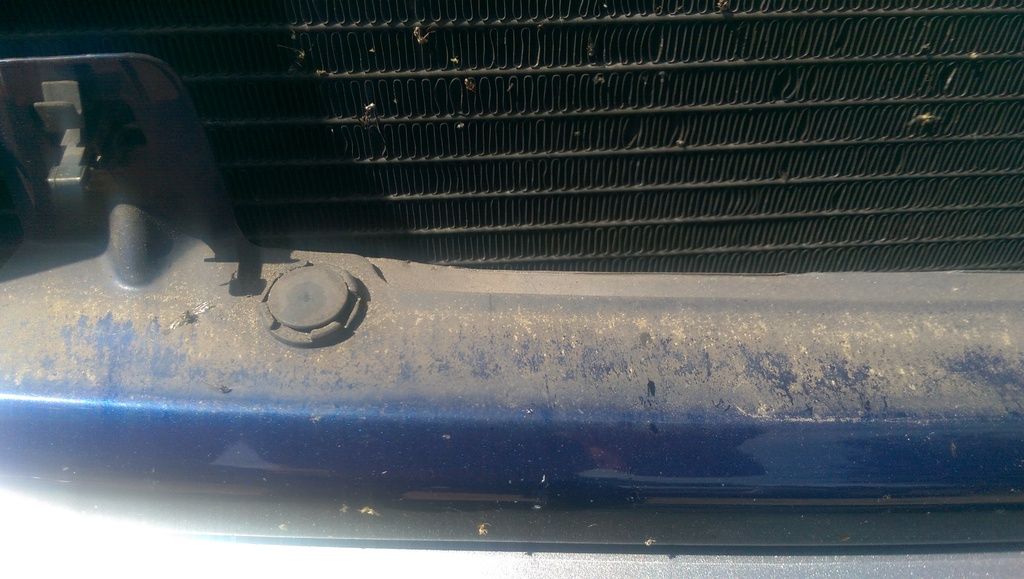
There are three lugs located on the bottom of the grille, and these need to be prided to enable the grille to be removed.
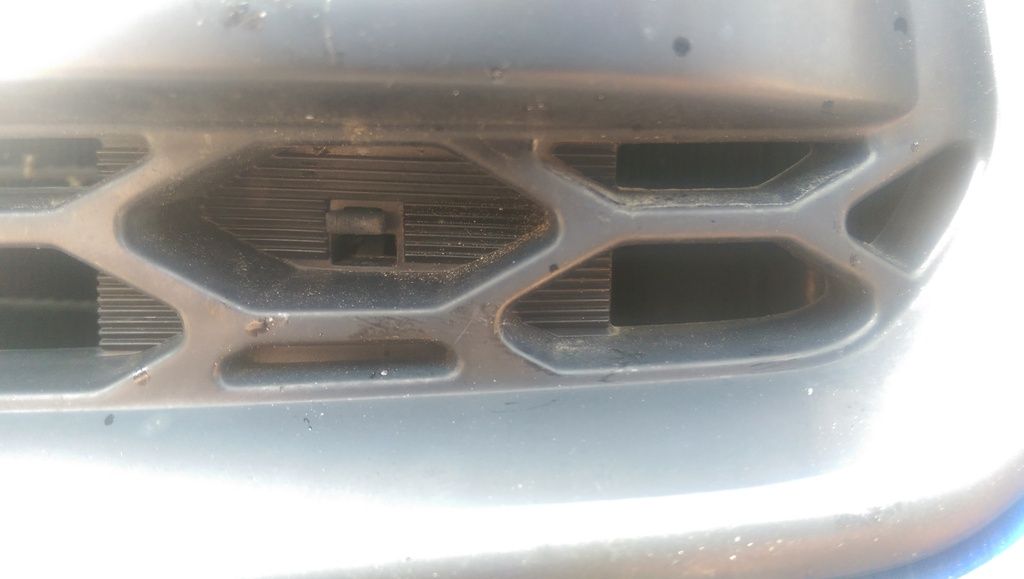
You can see them on this shot
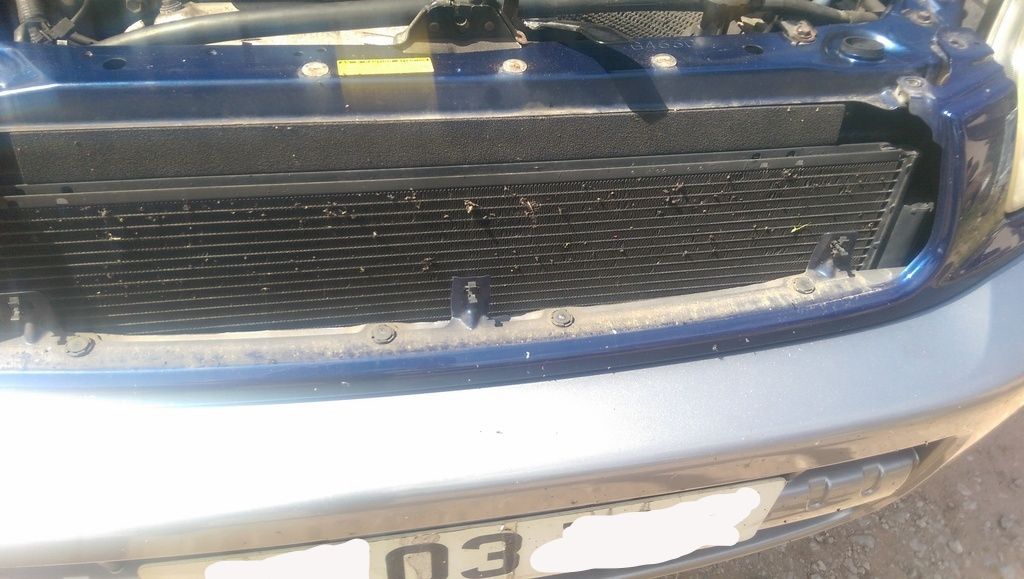
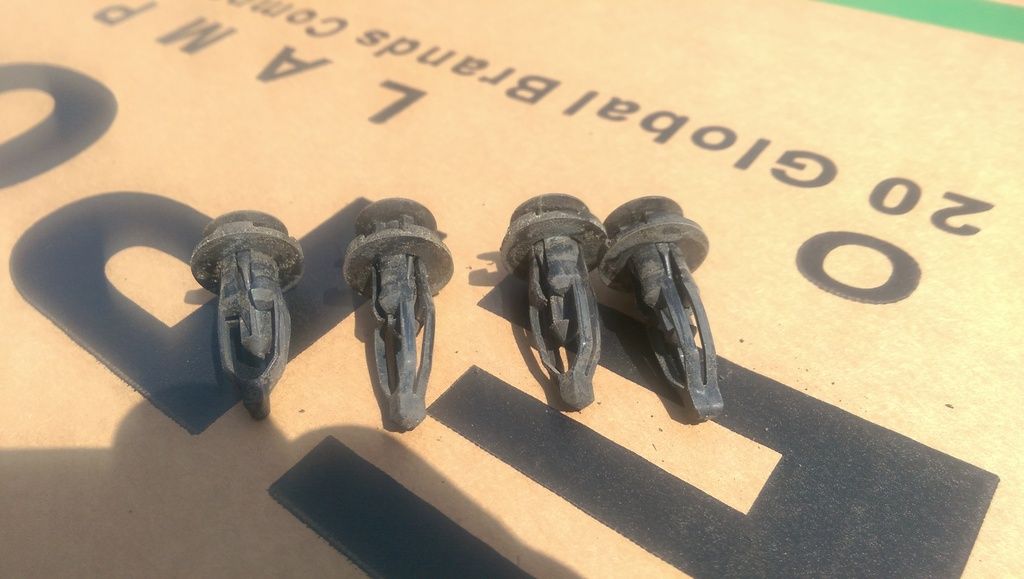
You then need to prise out the centres of four plastic clips, that hold the plastic trim, that goes across the front, covering the bottom of the headlights. This has to come off as it exposes the fixings to the headlight units. There are four, and are very easy to remove.
Put these to one side, somewhere safe. Its a pain it you lose stuff at this stage.
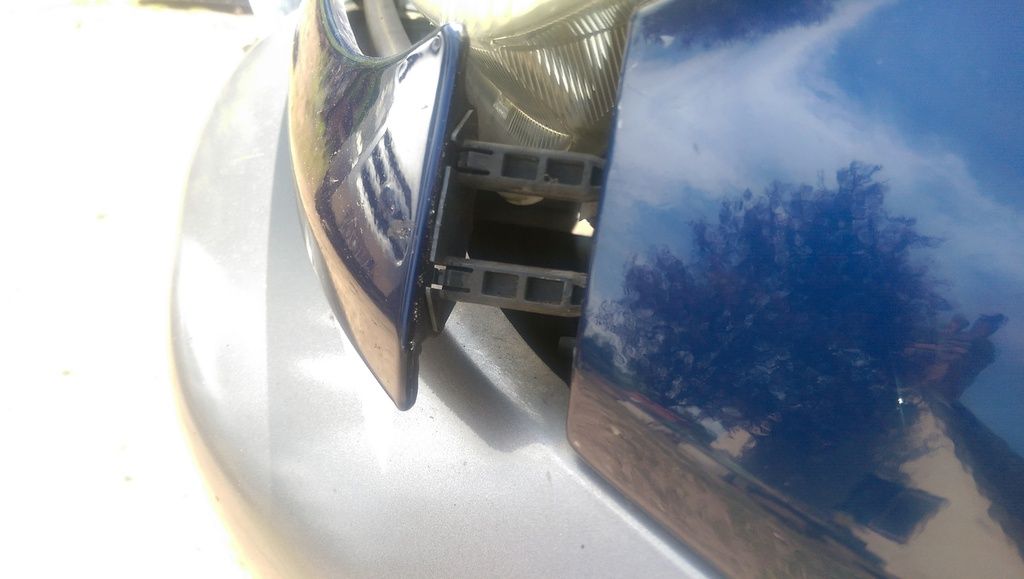
The ends of the plastic trim panel are held in by two clips at either end. You will need a very thin long screwdriver, or similar to press onto the tabs on the clips, to release them. Stick some tape on the paintwork, so you dont damage it. Once you have the clips released you will see how they work.
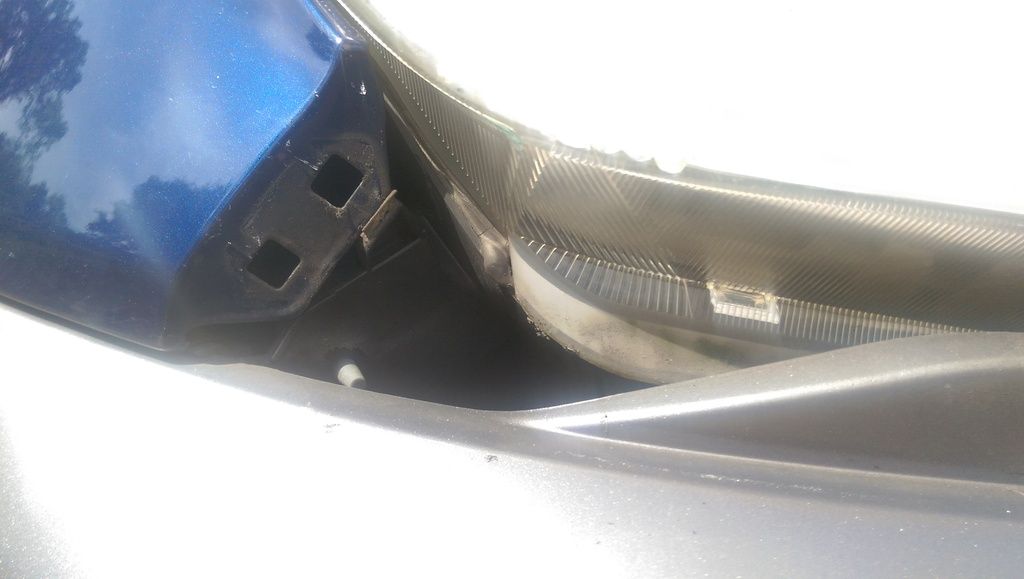
With the trim and grill removed, you still cant get access to the headlight fixings, which are hidden below the bumper. Why they were designed like that is beyond me.
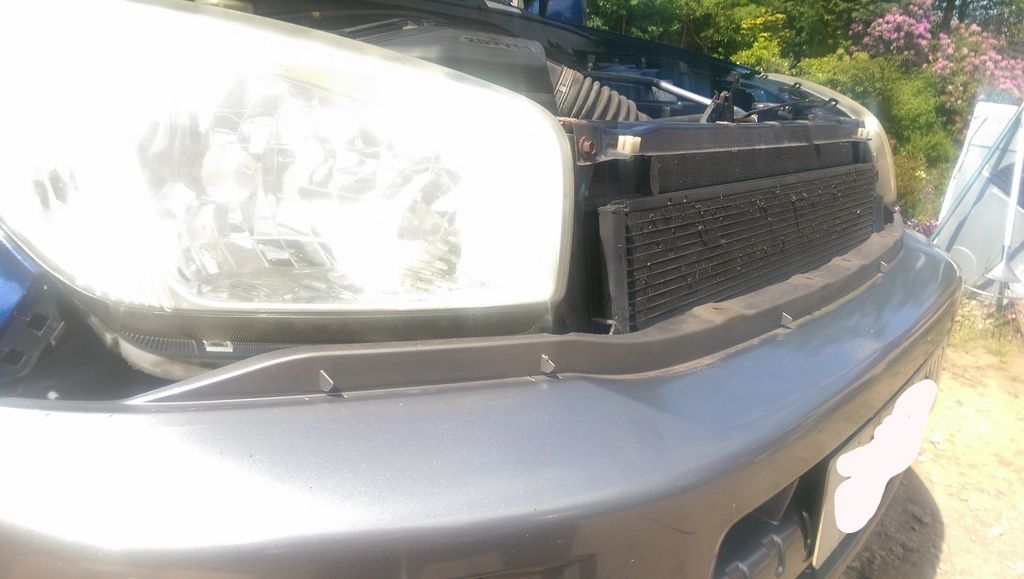
There is a bolt holding the headlight that is just tucked behind the bumper.
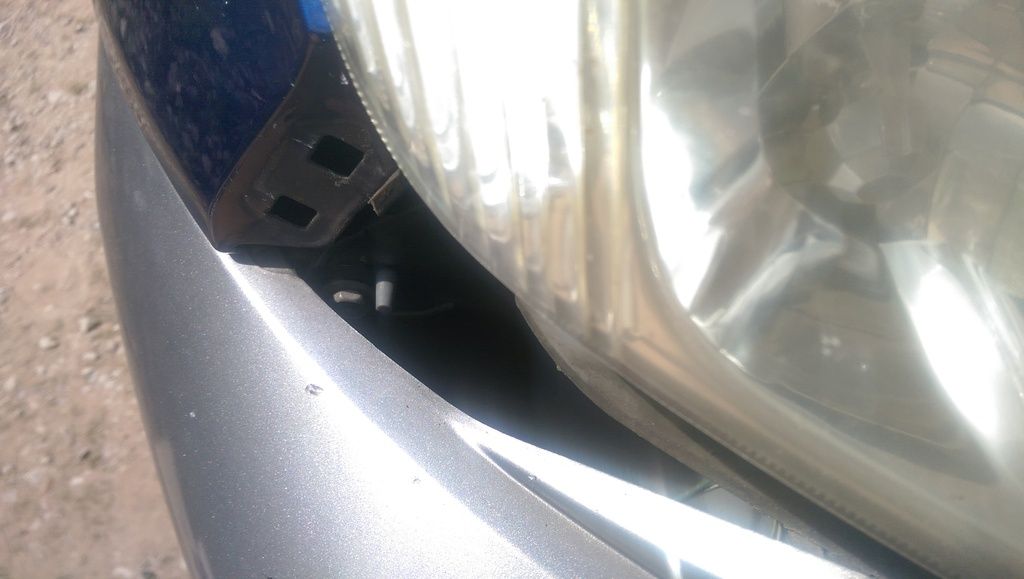
Now, the first post on this bolt I read, suggested that you use a 10mm spanner, and slowly turn the bolt, to remove it. That would take forever, and I found an easier way..
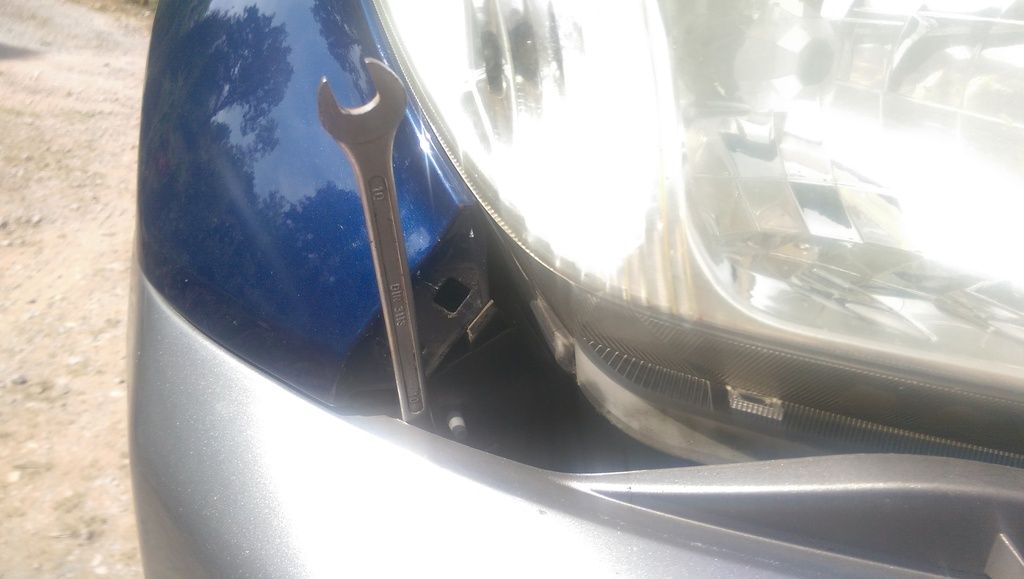
The bolt has a cross head slot in it, so if you deform the bumper slightly, to can get a philips head screwdriver in there, and its easily removed.
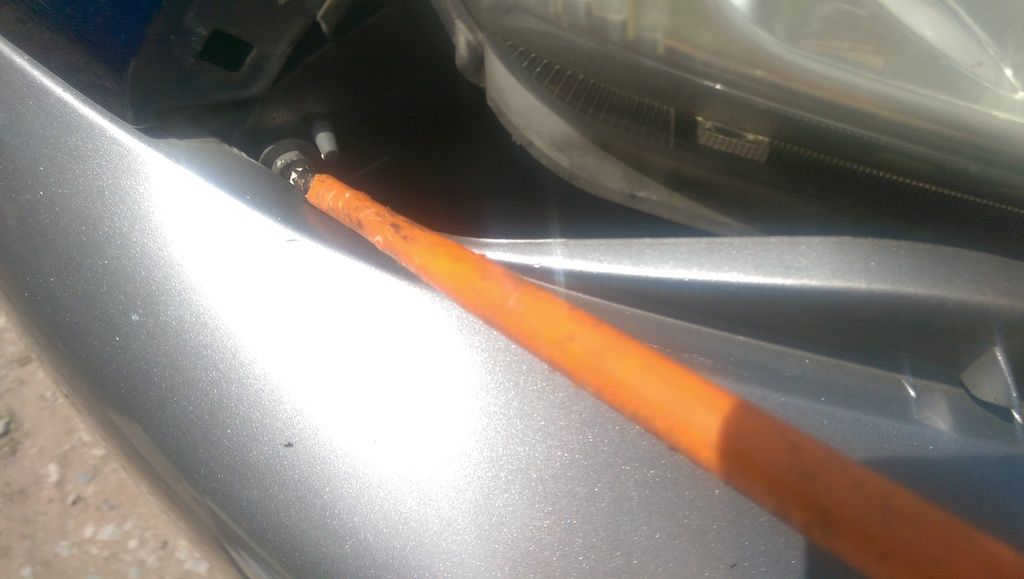
If you peal back the arch liner, you can remove another philips head bolt, and it makes it easier to deform.
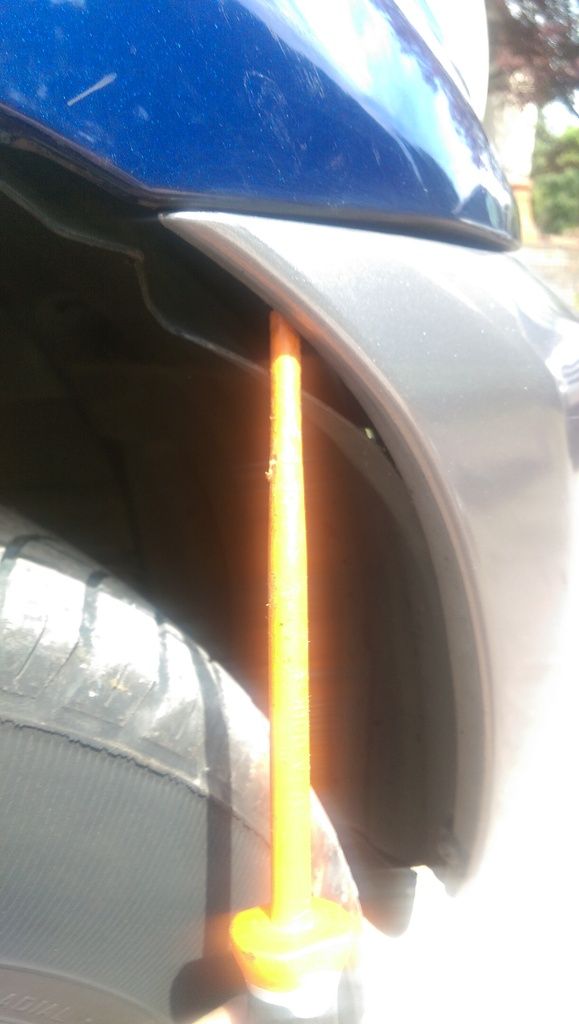
Just remove the two retaining bolts on the top of the headlight unit, and it can be withdrawn, with a little twisting.
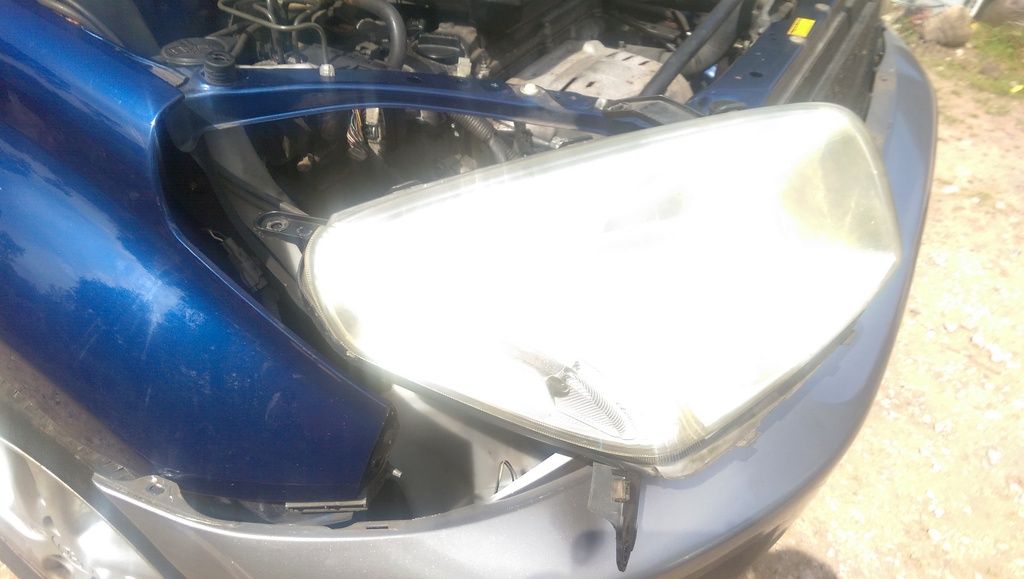
The wiring can then be removed from the lamps and beam levelling motor.
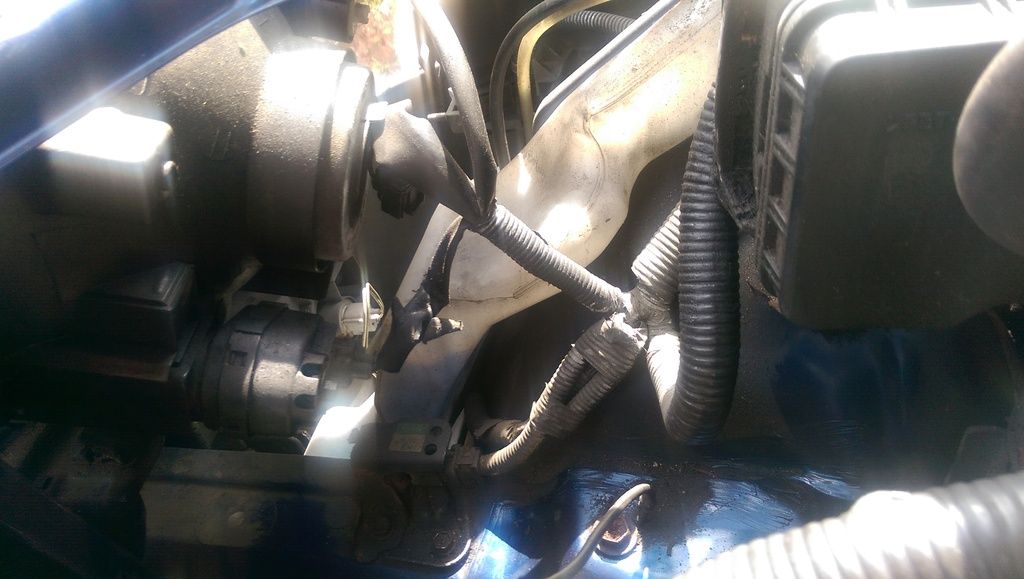
Side by side, you can see the difference in old and new.
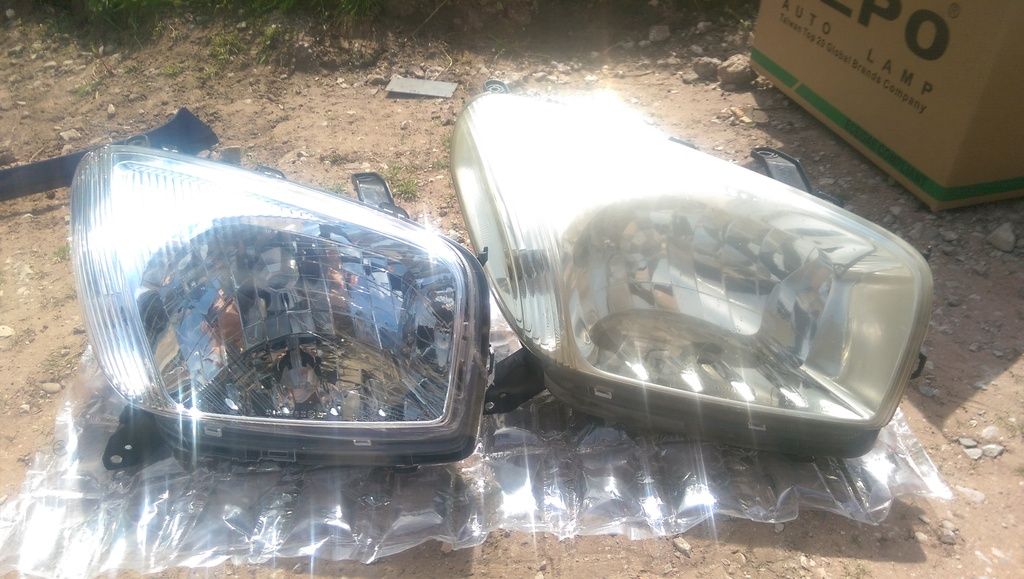
The units from ECP did not come with a beam levelling motor fitted. There are instructions included to tell you how to fit it. You will need to remove the old motor off your existing headlight, and fit it to your new headlight. Pretty simple, but what the instructions dont tell you is that you have to unscrew the long shaft connecting the motor to the movable reflector. Unscrew it about halfway out, then turn the motor 90 degrees to unlock it. Then carry on unscrewing the shaft til it comes out. Fit the motor to the new headlams by screwing it in half way, then fitting the motor, then screwing in the shaft again.
I fitted new 130% Extreme headlamp bulbs from Halfords, and new sidelight bulbs. I would recommend you fit new sidelight bulbs whilst the headlights are out as its very fiddly. Refit the wiring and follow the removal instructions in reverse.
Then standback and admire your new lights...
tilly
One of the first jobs I did on the Rav when I bought it was replace the front headlights. They had yellowed so badly that the last MOT examiner flagged it up as an advisory.
The units were bought from Eurocarparts, when they had a 30% sale on, which made them quite cheap.
This is the before shot. Yellowing headlights, and it makes the Rav look pretty shabby.

First remove the upper bolts holding the black grill in place, and set them aside.

There are three lugs located on the bottom of the grille, and these need to be prided to enable the grille to be removed.

You can see them on this shot

You then need to prise out the centres of four plastic clips, that hold the plastic trim, that goes across the front, covering the bottom of the headlights. This has to come off as it exposes the fixings to the headlight units. There are four, and are very easy to remove.

Put these to one side, somewhere safe. Its a pain it you lose stuff at this stage.

The ends of the plastic trim panel are held in by two clips at either end. You will need a very thin long screwdriver, or similar to press onto the tabs on the clips, to release them. Stick some tape on the paintwork, so you dont damage it. Once you have the clips released you will see how they work.


With the trim and grill removed, you still cant get access to the headlight fixings, which are hidden below the bumper. Why they were designed like that is beyond me.

There is a bolt holding the headlight that is just tucked behind the bumper.

Now, the first post on this bolt I read, suggested that you use a 10mm spanner, and slowly turn the bolt, to remove it. That would take forever, and I found an easier way..

The bolt has a cross head slot in it, so if you deform the bumper slightly, to can get a philips head screwdriver in there, and its easily removed.

If you peal back the arch liner, you can remove another philips head bolt, and it makes it easier to deform.

Just remove the two retaining bolts on the top of the headlight unit, and it can be withdrawn, with a little twisting.

The wiring can then be removed from the lamps and beam levelling motor.

Side by side, you can see the difference in old and new.

The units from ECP did not come with a beam levelling motor fitted. There are instructions included to tell you how to fit it. You will need to remove the old motor off your existing headlight, and fit it to your new headlight. Pretty simple, but what the instructions dont tell you is that you have to unscrew the long shaft connecting the motor to the movable reflector. Unscrew it about halfway out, then turn the motor 90 degrees to unlock it. Then carry on unscrewing the shaft til it comes out. Fit the motor to the new headlams by screwing it in half way, then fitting the motor, then screwing in the shaft again.
I fitted new 130% Extreme headlamp bulbs from Halfords, and new sidelight bulbs. I would recommend you fit new sidelight bulbs whilst the headlights are out as its very fiddly. Refit the wiring and follow the removal instructions in reverse.
Then standback and admire your new lights...


